I previously had an article about these light fixtures published on the now defunct Arizona Inverts website. It covers a very economical way of building lighting for your tanks. Since the original article is gone, I thought I’d revisit it, and post a new version here.
The project centers on using extruded polystyrene (XPS) rigid foam insulation to construct boxes used as light fixtures for your tank. XPS is easy to handle, score, and cut, and it also resists moisture even after exposure to standing water. I purchase it in 4′ x 8′ sheets at the local Lowes or Home Depot.
At any rate, while looking at some scrap pieces I had one day, the thought occurred to me that I could probably make light hoods using this material.
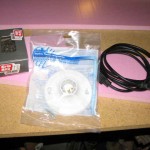
Our material list for this project consists of;
- XPS rigid foam insulation
- A keyless lamp holder
- 2″ drywall screws
- An old electric cord
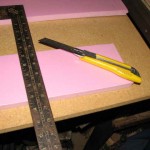
First we need to cut our foam. I use a carpenters square and a utility knife. The foam is stiff, but it cuts easily enough with a sharp blade.
.
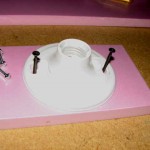
When using the keyless lamp holders, be sure to cut your foam wide enough so that it will completely cover the lamp holder.
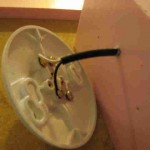
Once you have positioned your lamp holder, make a hole in the foam just slightly smaller than the diameter of your electric cord.
Insert the cord through the foam and attach it to the lamp holder.
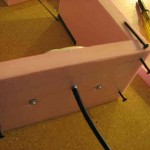 I use the screws that come with the lamp holder to attach the lamp holder to the foam.
Use the 2″ drywall screws to attach the pieces of foam together and you have your light fixture.
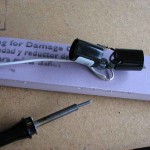 If you find you are tight on space, you can use different types of lamp holders and cut down the height needed for the foam.
I picked up some 2 bulb holders on-line for $1.00 each. These work very well for larger tanks where having 2 bulbs is a plus.
While you won’t win any styling awards with these tank lights, I have found them very economical and easy to build.

