
I love DIY projects and sponge filters make for a perfect project. I don’t think you can go wrong when it comes to making your own sponge filters. I’ve made them with lots of different materials and in many different ways over the years. Here’s how I build my latest version.
To get started we need the following list of materials…
1. Air line tubing
2. Airline Holders
3. 1/2″ rigid air line tubing
4. 5/16″ rigid air line tubing
5. Plastic wire ties
6. Poret filter foam
Items 1 through 4 I ordered from Kens Fish, (www.kensfish.com).
The plastic wire ties I picked up at Home Depot.
The Poret filter foam I got from my friend Stephan at (www.swisstropicals.com).
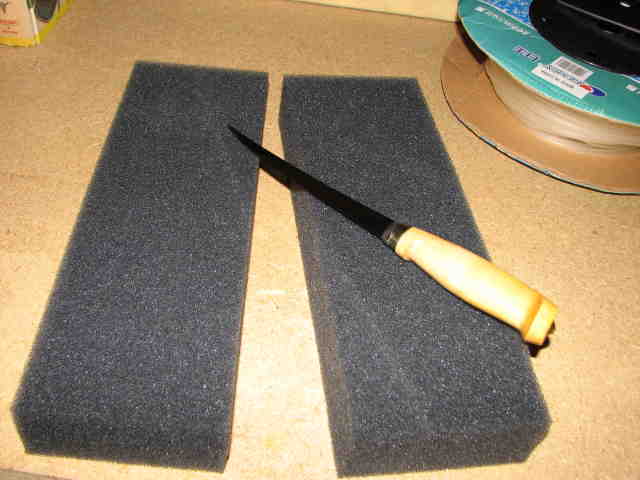
Let’s start by cutting our filter foam. For these filters we’re using a 13″ x 13″ by 2″ thick sheet of Poret. First I cut the sheet into three sections 4″ high. The sheet pictured already has the first 4″ section removed.
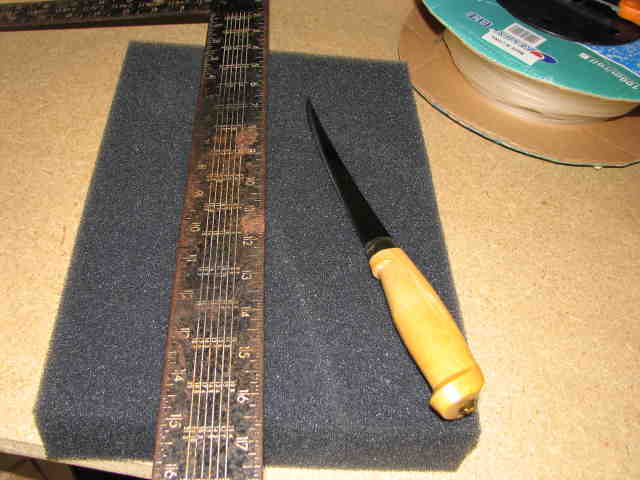
I like to use a Rapela fish filet knife to cut my foam. The long thin blade comes in handy as you will see.
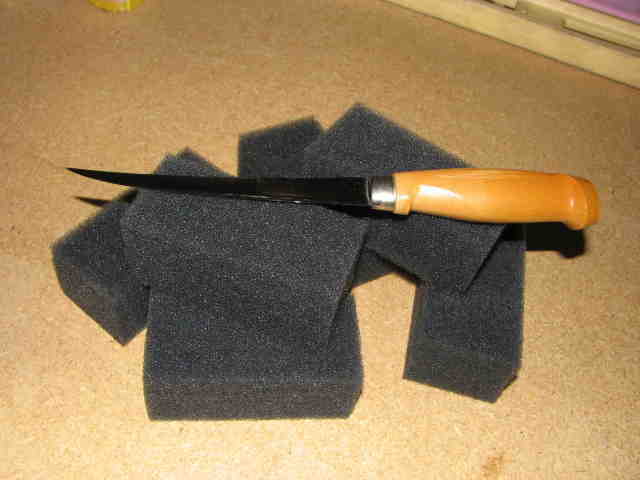
Next, I cut each 4″ section into six 2″ pieces.
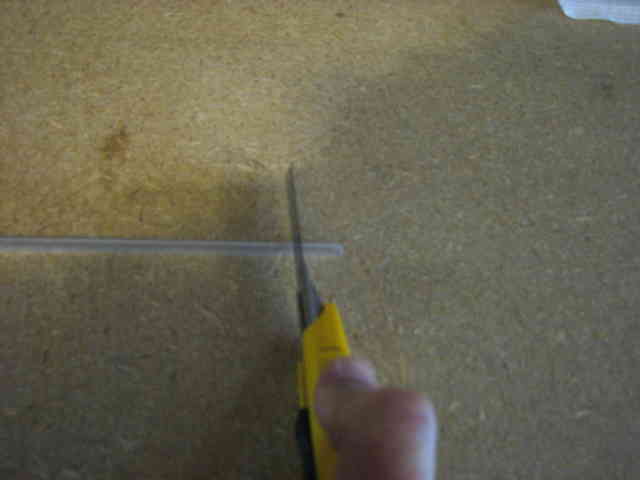
Now we need to cut some of our rigid tubing. I’m making 6 filters today so I’ll cut six 3/4″ pieces of the 5/16″ tubing and six 6″ pieces of the 1/2″ tubing. The small diameter tubing is used to connect our filter to the air system and the large diameter tubing is our lift tube for the filter.
I have found this rigid tubing quite easy to cut by simply using a utility knife blade to roll the tubing back and forth on my work bench. With each roll the knife cuts little by little and cleanly cut the tubing. Be very careful as utility knives tend to be very sharp!
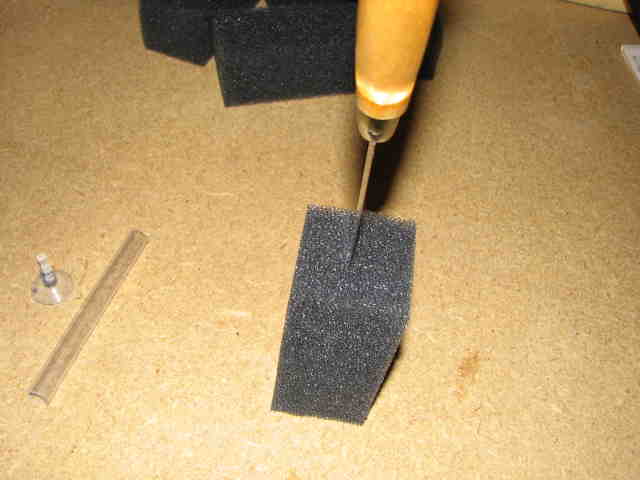
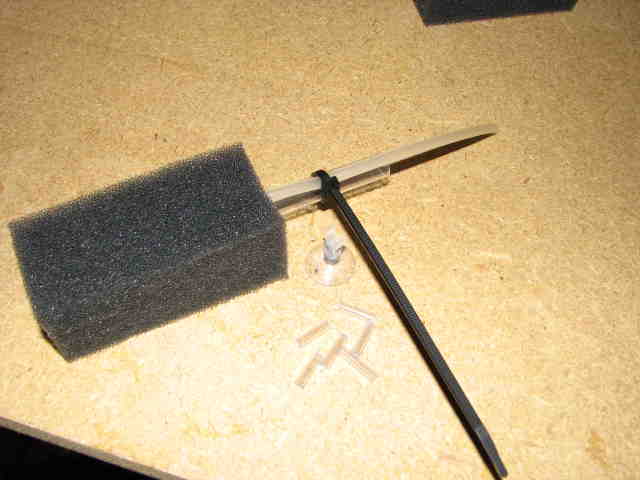
With our tubing cut we need to make a slit into the filter foam for the lift tube. I use the lift tube to find the location for the slit – centered left to right and a little off center front to back. I want the tube close enough to the back edge of the foam so that the suction cup on the air line holder sticks out further than the foam.
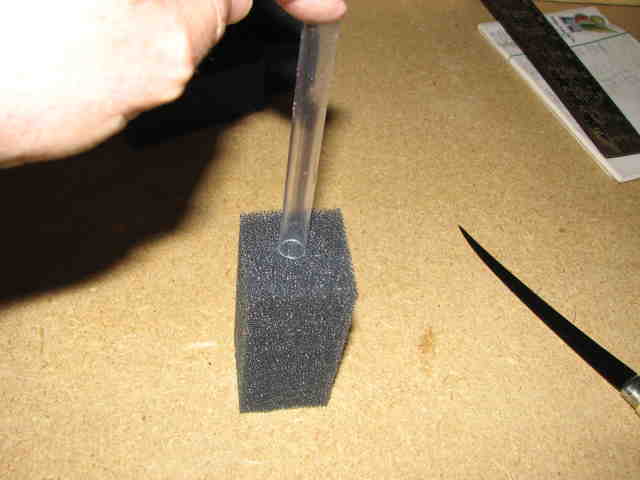
With a rocking motion, the long thin blade makes short work of cutting a slit into the foam for the lift tube.
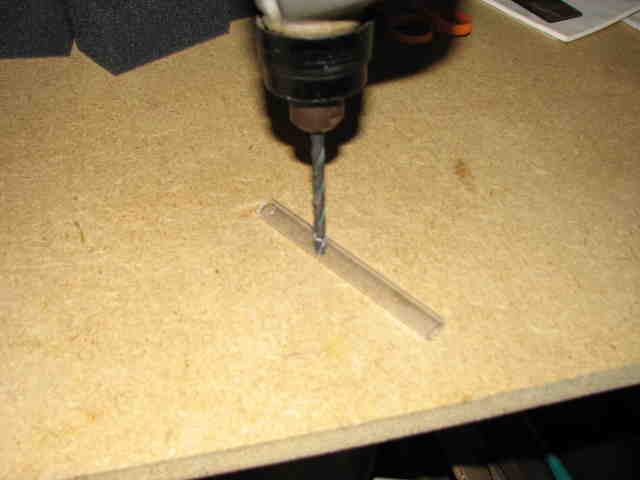
Fit the tube to see if you’ve cut deep enough into the foam. I like to put around 2.5″ to 3″ of the lift tube into the foam. Once I get it just right, I put my thumb where the tube meets the foam and remove the tube to drill for the air line. I’ll drill the hole slightly below where my thumb is so the foam will help to hold the flexible airline in the lift tube.
Drill the hole using a drill bit just slightly smaller than the air line tubing. If you get a burr from the rigid tubing inside the tube, you can use the fillet knife to remove it.
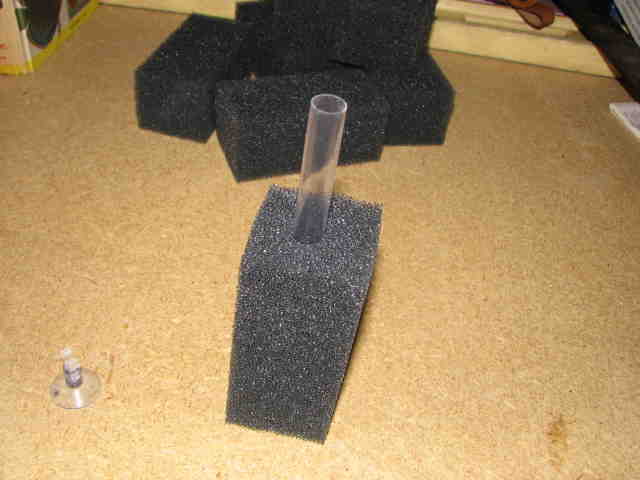
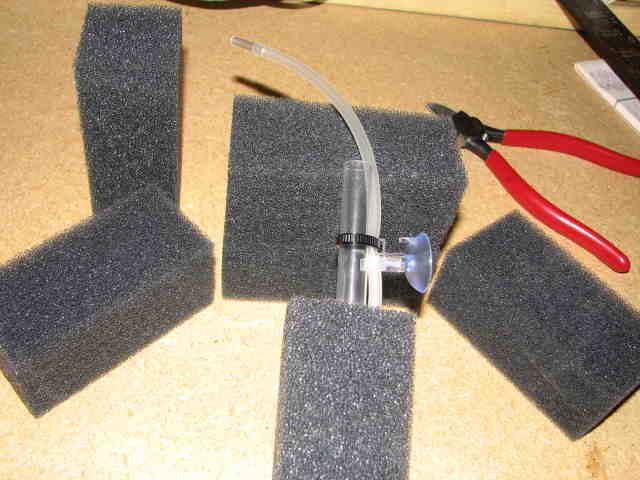
Things start coming together quickly now. Cut a piece of air tubing 8″ to 10″ long. Inset one end into the hole we drilled in our rigid 1/2″ tubing. You only need to insert it just far enough that it doesn’t pop back out. Now insert the rigid 1/2″ tubing back into the filter foam. The lift tube, (our 1/2″ rigid tubing) should go into the foam far enough that it helps to hold the air tubing in place. Place on of the plastic wire ties about half way up the lift tube to secure the air tubing.
The clip on the air line holder attaches to the air tubing just below the plastic wire tie.
With just a little practice you’ll find that you can make a set of these filters in just a few minutes.

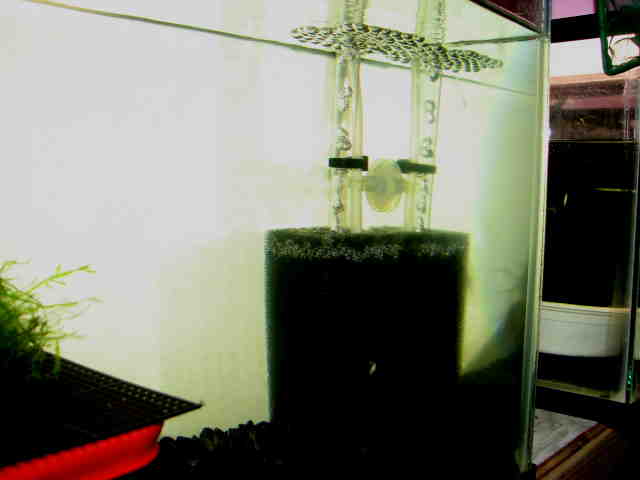
I use filters of this size in my 5.5 & 10 gallon tanks. You could make them larger for larger tanks if needed.
I hope you find this a fun and useful DIY project for your fish room too!